Pages

March 31, 2009

Trulli unique Italian houses

trullis trulliland

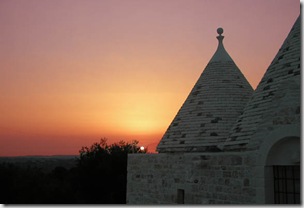
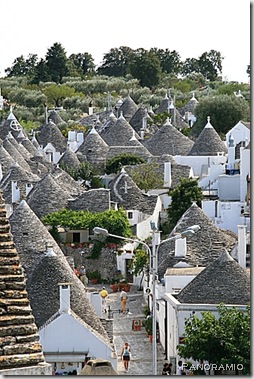
trulli panoramioHave you ever heard of a trullo?? I hadn’t until a few days ago.

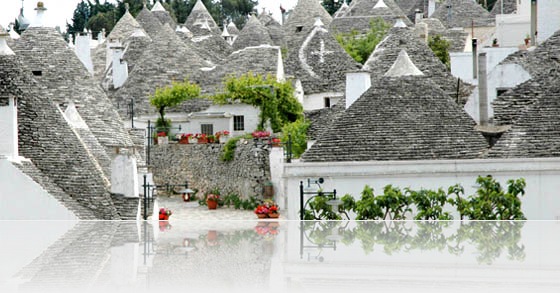
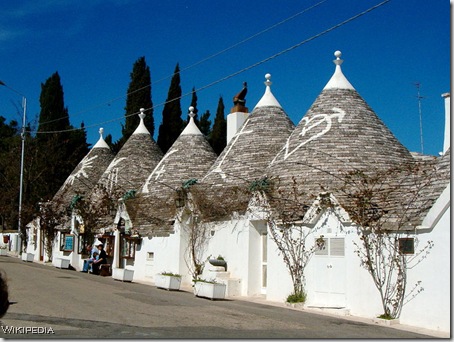
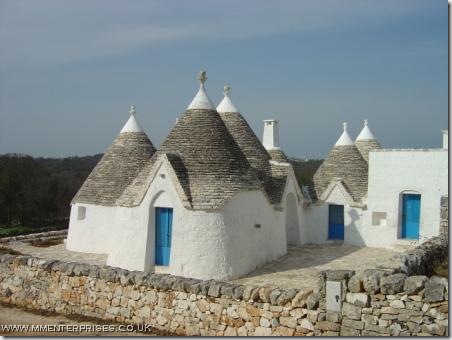
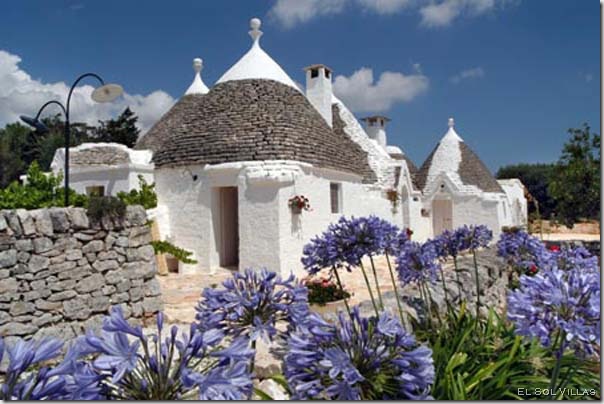
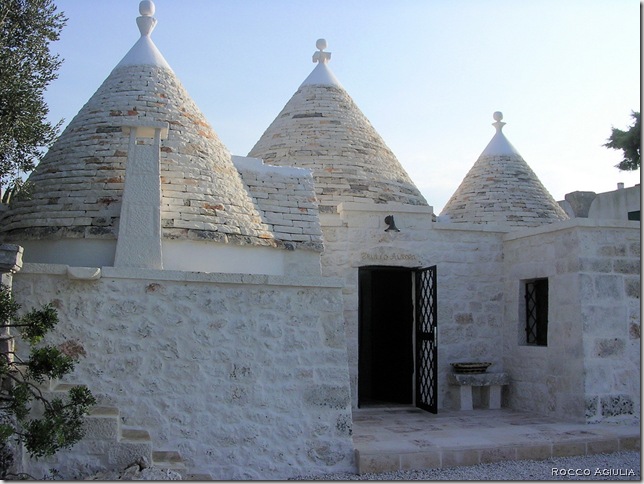
Trulli (the plural form) are structures with gray stone cone-shaped roofs. They’re found in Bari and Tarano in the Puglia region of Italy. There are over 400 trulli in the town of Alberobello, considered to be the “trulli capital”.

The origin of these oddly shaped houses is unknown. Traditionally, trulli were built without any cement or mortar. One of the more popular theories is that because of high taxation on property, the people of Puglia created trulli so that they could be dismantled and moved out of sight when the taxman was in the area. Then they would put them back together once the taxman was gone.

Today, trulli have solid foundations. No hiding from the taxman anymore!! The stone used to build a trullo helps to keep the house cool in the hot Italian summer. The outside of the cone is built from chiancarelle (stone slabs) of different sizes that serve as roofing tiles.

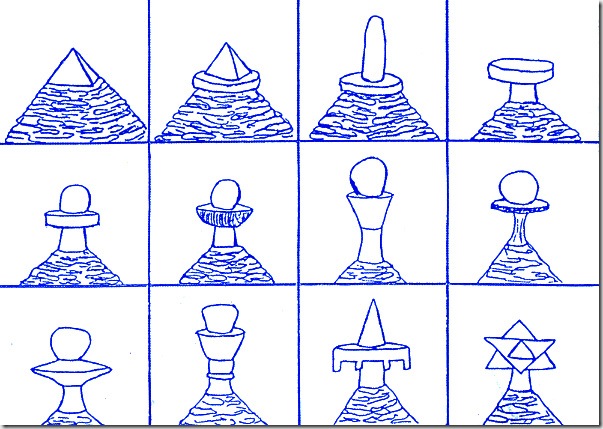
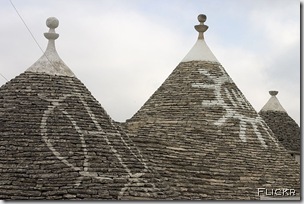
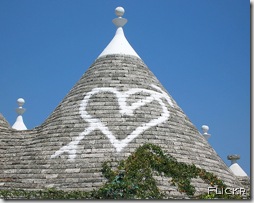
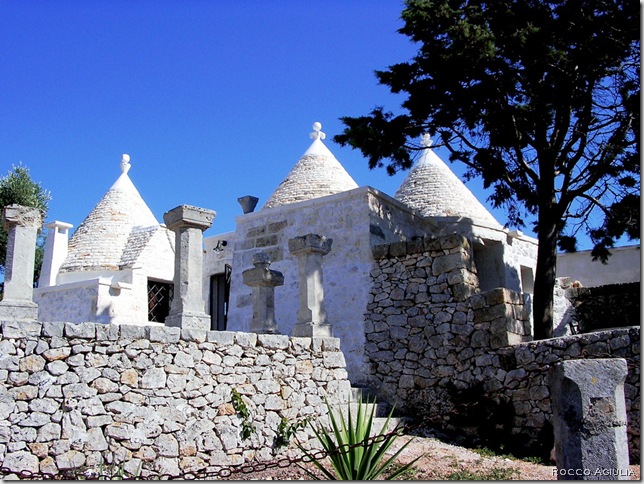
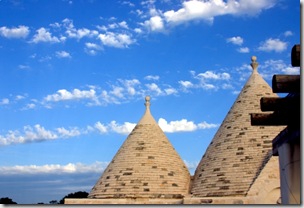
As you can see in the pictures, there’s typically a pinnacoli (pinnacle) at the top of each trullo’s cone. The significance of the pinnacoli is still unclear. Some people believe it gives magic powers. Others believe it represents the family that lives in the trullo.
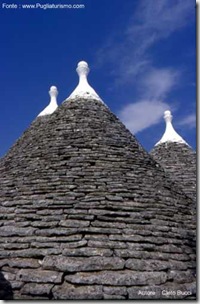
cones

trulli wiki

Sketches of pinnacoli (from www.alberobello.blogspot.com):

trulli Pinnacoli

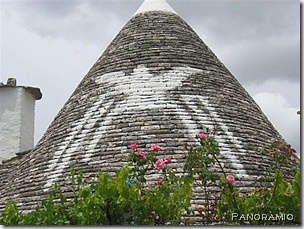
Many cones have symbols painted on them. The symbols are painted with lime. Legend has it that they were painted for magical or propitiatory rites. The meaning of some common symbols are to protect the family living in the trullo from the evil eye, the worship of some deity, and the hope for a good harvest.

trullo symbols panoramio trullo symbols panoramio 2

trullo symbols flickrtrullo heart flickr

From left to right are Primitive, Christian, and Magic symbols (from www.alberobello.blogspot.com):

trulli symbols

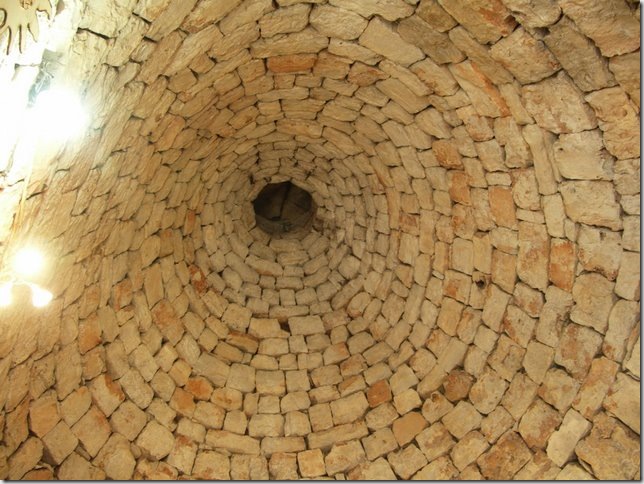
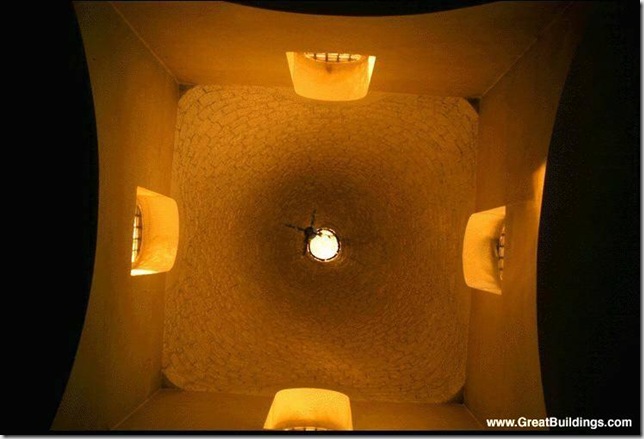
Now let’s take a peek inside and look up some trulli cones…

TrulliInteriorCeiling picasa

trulli looking up

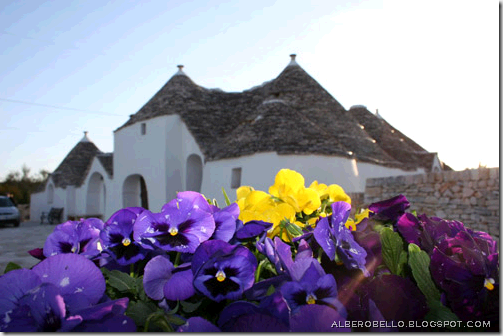
Some pretty trulli exteriors…

trulli-spring

Trullo_Cisternino01

trullo pansies

trullo rocca agiulia

trullo rocca agiulia 2

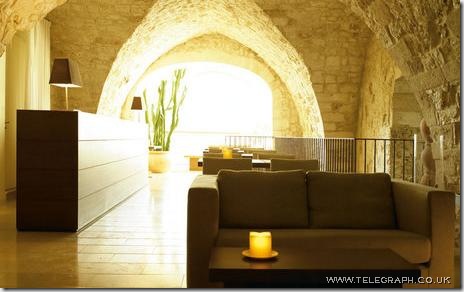
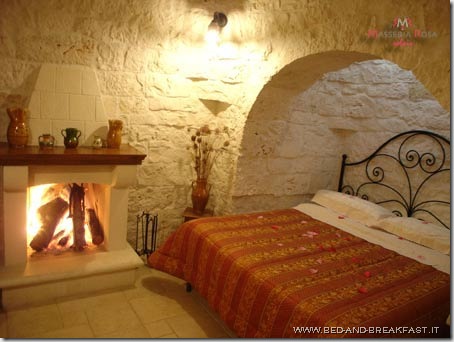
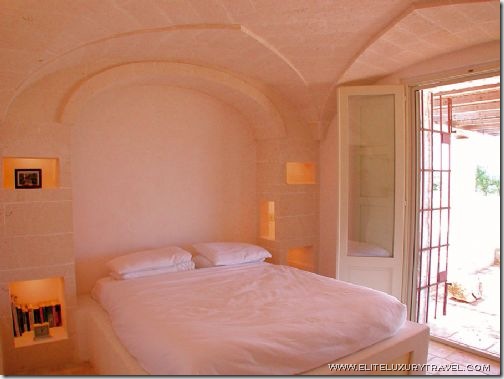
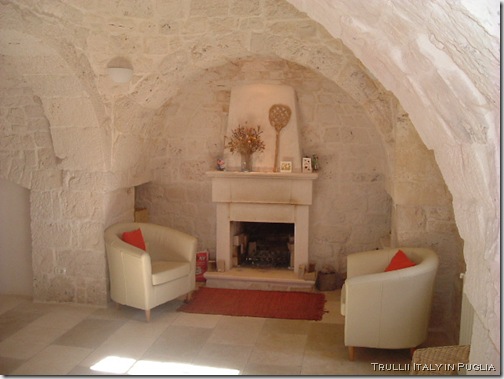
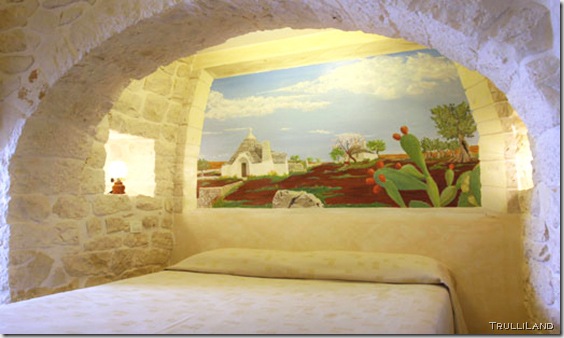
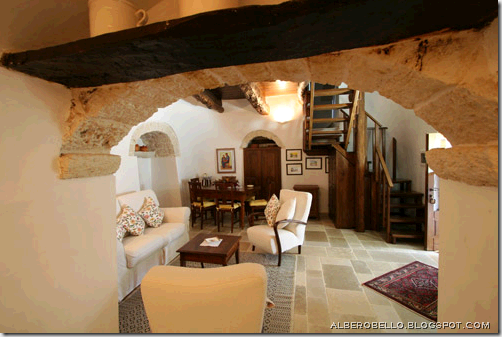
The interior of a restored trullo might surprise you…

trulli in 2

trullo bedroom

trullo bedroom 2

trullo FP

trullo bedroom 3

trullo LR

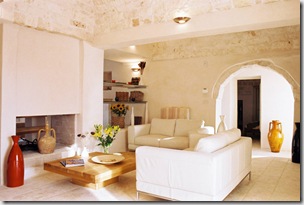
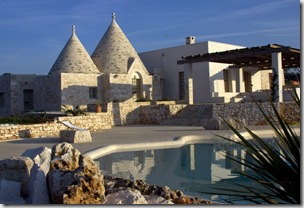
The trullo in the following pictures is Villa Santoro (featured on www.villapuglia.com). Villa Santoro recently underwent a complete renovation and rebuild by an Austrian designer and a Milanese architect team. It combines and retains the Trullo and Masseria styles typical and unique to the area. Many of the original trullo features have been maintained, including the original stonework and vaulted ceilings. The interior is clean and minimal, but the stone gives it character and warmth.

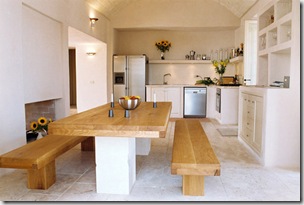
The bright & light interior…

 PUG Kitchen_2PUG Kitchen_3 PUG Trullo_BedroomPUG Trullo_bathroom 2PUG_Kitchen_3PUG Living_Room_corner

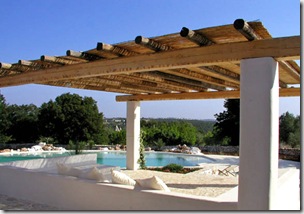
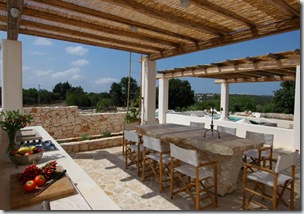
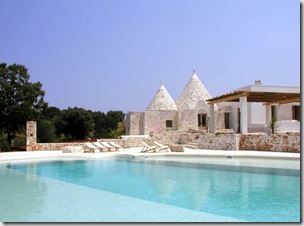
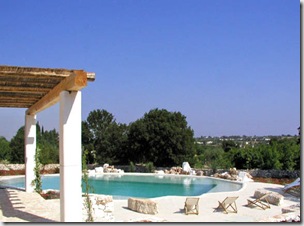
The backyard isn’t too shabby either!!

 PUG Pool_from_outside_living_areaPUG Terraces_and_poolPUG Over_pool_to_TrulliPUG_Pool_and_view_1

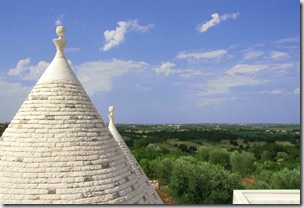
Beautiful blue skies…

PUG View_north_over_trullo_conesPUG Trullo_and_Sky       

The sun is setting on Villa Santoro…

PUG Villa_Santoro_Early_EveningPUG_Santoro_sundownPUG_Santoro_and_Pool_by_Moonlight 

I hope you enjoyed visiting these trulli unique Italian houses as much as I did :-)

sigpurple_thumb_thumb

Read about a trullo restoration here:

www.mmenterprises.co.uk/blog/labels/trulli.htm

Sources:

www.wikipedia.com

www.geocities.com/trullihouses/

www.alberobello.blogspot.com

March 29, 2009

Finishing the loft one step at a time

meta monday Thanks to Susan at Between Naps on the Porch for hosting another Metamorphosis Monday :-)

This is actually a project that’s in mid-metamorphosis. But I’m hoping that posting my three-quarters done project will inspire me to get the last quarter done so I can post it as an official metamorphosis soon :-)

When we moved into our house in December 2001, it was just two years old. So there wasn’t much to change besides yucky paint colours.

There was one major undertaking that I wanted to start on right away, but stubborn hubby insisted that we wait till the mortgage was paid off. He’s very pragmatic and annoying that way ;-) Above the main floor was an amazing but unfinished 500 sq ft loft. Electrical was roughed in, drywall was mudded & sanded, subfloor was installed… I wanted to finish it SO BADLY. And I would have too… except there was one little obstacle in the way—there were no stairs.

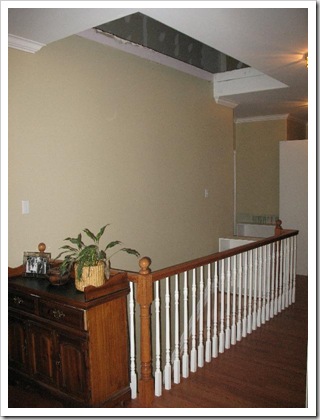
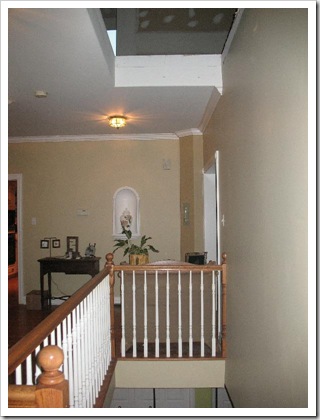
before 2 before 5

See that rectangular opening in the ceiling?? That opening taunted me for five years. I walked by it every day, and it laughed at me and mocked me and wouldn’t let me go through it. Mean hole!!

I did go up into the loft a couple of times, after I perfected my levitation skills ;-) No, actually, it required putting a long extension ladder on a basement step and climbing up the ladder and through the hole. Not fun if you’re like me and don’t like heights.

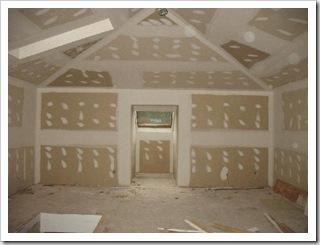
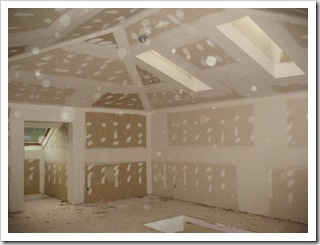
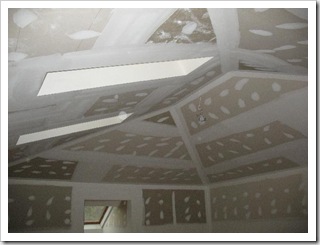
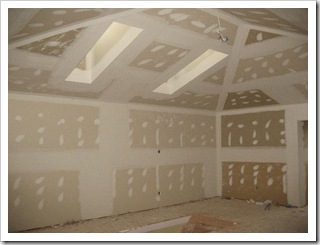
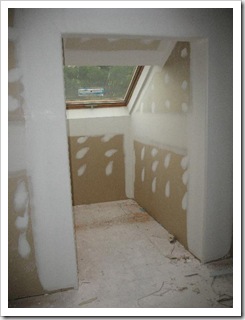
This is what the naked loft looked like:

loft RS  naked 1 naked 3 naked 4 naked 5

Totally sweet space—what a bummer that we couldn’t use it!!

Finally, the magical day arrived in 2007: Stair day!! They came with the staircase all made and ready to install. It was a surprisingly easy and fast job. Well, it looked easy, anyway—I’m sure carrying that sucker and then putting it into place wasn’t a whole lotta fun ;-) The stair guys must’ve thought I was loony, the way I was going on and on about how excited it all was!!

Weeeeehooooo!!!! The staircase is in!!!!

after 2

Next came painting the loft (BM Stone House, but that’s going to change—more on that a little further down). Given the fact that the ceiling is vaulted and the big gaping hole is still there and that I’m a klutz, we hired a painter friend to paint it for us.

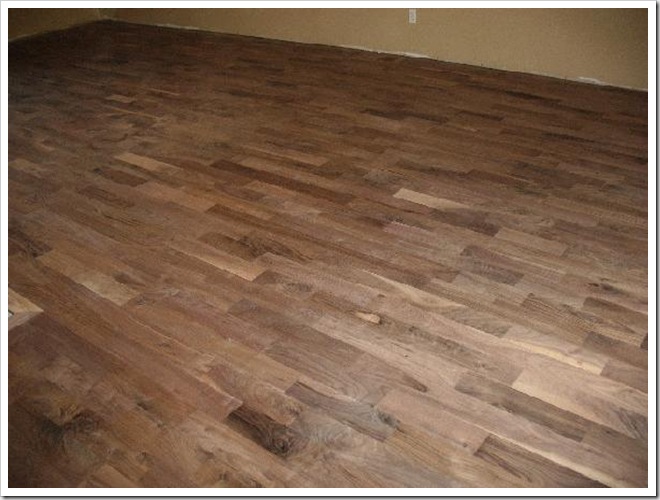
Hubby and I installed the floor over the Christmas holidays in 2007. It’s heritage grade walnut in 4” wide planks and random lengths. The hardest part was figuring out the layout of the planks. Because of the variety in grain and lengths, we had to be sure to spread then out equally. It was like putting together a jigsaw puzzle—but with a great big power floor nailer!! Here’s the unfinished floor:

sanded

After we installed the walnut, Luigi the flooring guy sanded the floor. The planks had micro-bevels that created small grooves. We wanted the grooves removed so the floor would be smooth. Poor Luigi had a LOT of sanding to do. He said he’ll never do anything like it again!!

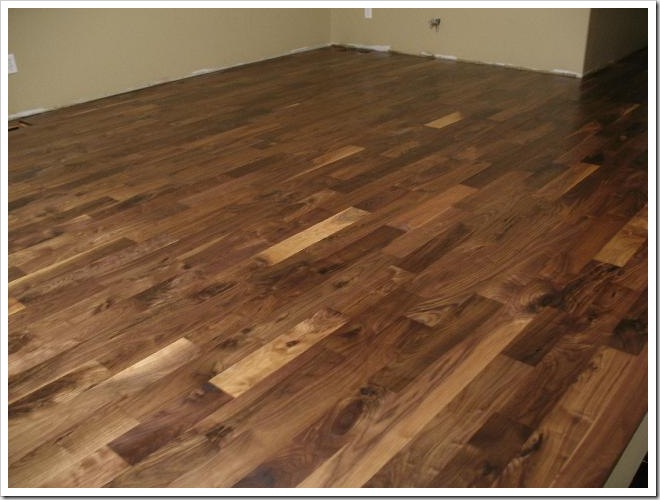
The walnut after being sanded and finished in a varathane to bring out the natural colour and grain:floor 

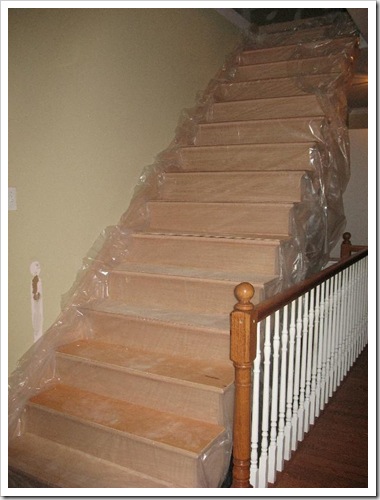
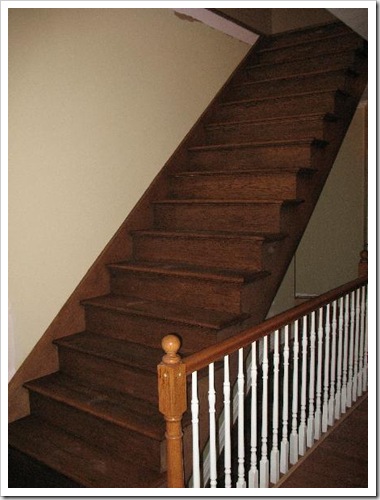
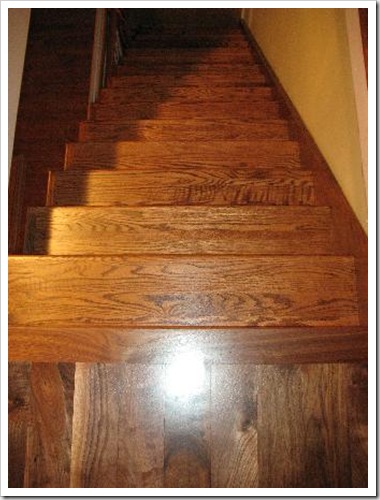
Luigi also stained the oak staircase:

stairs

Looking down the stairs from the loft:

done stairs

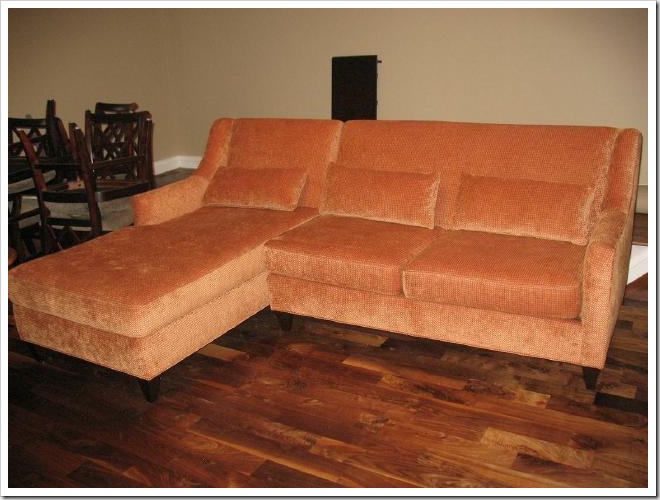
And now the reason why the wall colour needs to be changed… because we bought a super-comfy sectional sofa. It’s the Charles by Silva. He came from the manufacturer’s warehouse. I think whoever ordered him decided they didn’t like the fabric, so he became a reject. I just had to give him a new home :-)

charles 2 

I know, we totally did this backwards. But I had no idea that we would end up with an orange sectional!! Oh well, what’s a couple more cans of paint and a few hundred dollars to hire a painter?! ;-) Maria at Colour Me Happy suggested BM Shelbourne Buff and Smokey Taupe.

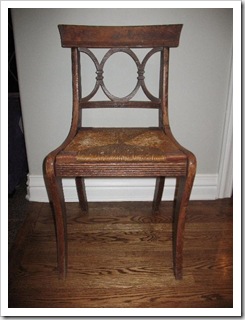
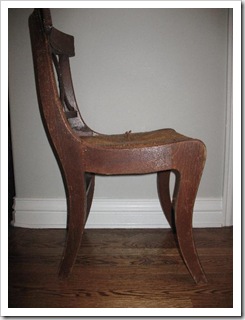
So that’s where the loft stands now—still not finished, but about 75% there. Hubby just bought a projector and we’re going to use the loft as a home theatre/game room. I’m buying these chairs…

circle chair 1 circle chair 2

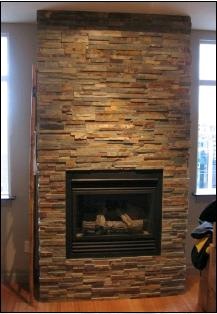
…and I’m going to refinish them—either paint or stain the wood dark and replace the caning on the seat with upholstered seats. They’ll go around a table for playing cards and board games. We’re going to install a gas fireplace set into a stone wall—something like this, but with a chunky wood mantel:

outback brown2

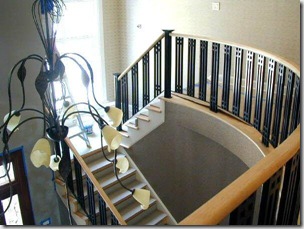
And this is the railing that hubby’s going to build (I’ve had these inspiration pics for years and have no idea where they came from):

handrail_si25 staircase A

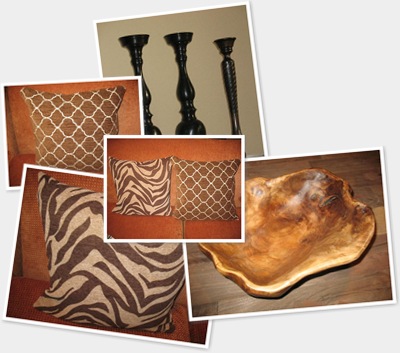
And these are some accessories and cushions I’ve picked up:

So that’s my 75% finished loft metamorphosis. As I mentioned, I’m hoping that showing you the project in progress will inspire me to get it finished soon so I can show you the 100% finished metamorphosis :-)

Speaking of which… don’t forget to head on back to Susan’s where I’m sure you’ll find lots of completed metamorphosises (that can’t be a word!!) Metamorphosisi?? Nope, that doesn’t look right either. Well, you know what I mean!! :-)

sig 

Related posts:

Wonderful walnut

Decorating with orange

Would you rescue these chairs?

Fabrics for my “virtual” chairs