 It’s Wednesday again… and that means it’s time for a Rewind! And I had to dig waaaay down into our archives to find this post…
Today – because I mentioned our wardrobes in my small space post from Monday – I’m sharing the post I wrote ages ago about the renovation of our primary (master) bedroom. We went from an ugly itty-bitty bedroom to a small, perfectly appointed bedroom. You’ll have to tell me if you agree!
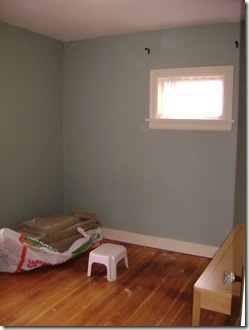
 To call our bedroom a "Master" is really quite misleading because it's extremely small. Making matters worse, we have a king sized bed that fit perfectly in our previous home! Somehow, we needed to make the bed fit into this room... and somehow we ALSO needed to accommodate for a lot of clothing :-)
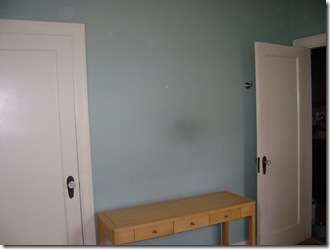
Here are a couple of BEFORE photos of our room:
I don't remember for sure, but I think the dimensions of the room were 10'x10' and the only way we could gain more space – short of adding an extension to the back of the house – was to take a few feet from the room next door.
So... the wall you see in the second photo above had to go...
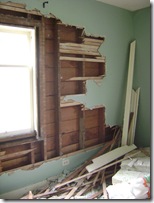
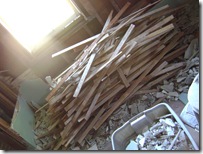
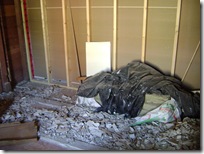
But first, we had tons of plaster & lath to remove...all the walls AND the ceiling!
WHAT A MESS!!
You may think me nuts but I actually enjoy this phase of a remodel – the time when things are starting to happen! It's a very exciting time in a renovation… albeit more then a little chaotic!!
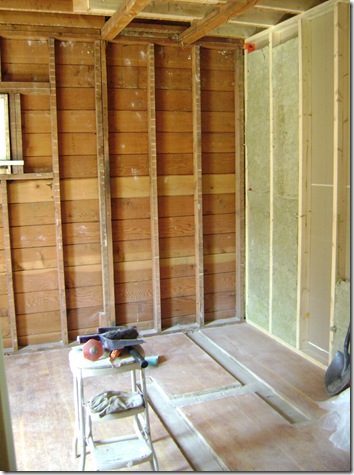
Take a look at the photo below. Can you see the new wood studs in the wall? That’s the new wall we built two feet in to the front room. Now take a look at the floor… the “H” you see is where the original walls were – two closets, one (attempting!) to serve each of the rooms.
The result… with the walls and debris removed we now had a room that was approximately 10’x14’… gigantic! LOL! Don’t get too excited for us ~ we still need to add back some closets!
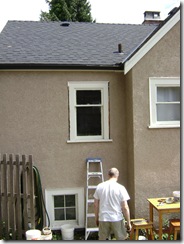
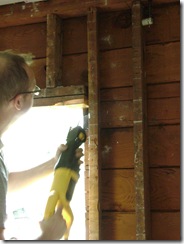
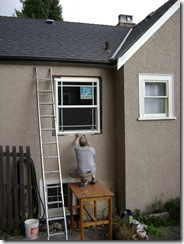
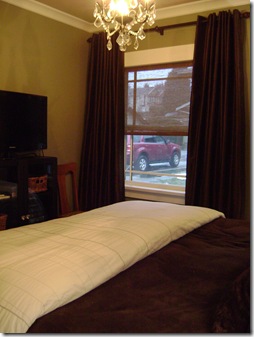
Before we could start putting the room back together, we had to replace the old, single-paned window. Taking advantage of the open walls, I had my husband install a window that was a little bit wider then the original window... what a difference it makes! Here are some pics of that process. Brian did a great job!
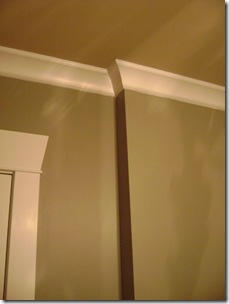
But if you think that looks good, take a look at his finish work! The walls were insulated (take a re-peek at the wall removal pics above and you'll see that - typical to houses of this age [70 years] - there was NO insulation) and drywalled... and then Brian set to work on the trim.
Like I mentioned, our little bungalow is 70 years old. Apart from unique features like a fantastic coved ceiling in the living room that we LOVE(!), the house doesn't have a lot of the character that houses of this age usually have.
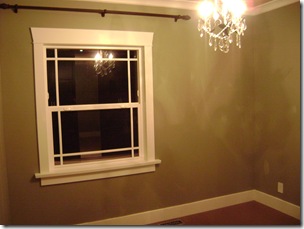
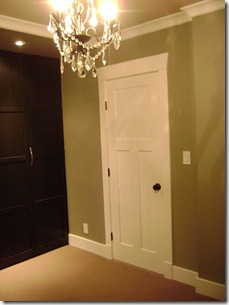
So... I did a little research and found local craftsman bungalows with trim like what Brian installed in our bedroom (and throughout the house). In combination with the arts & crafts panelled door and the "prarie-style" window, I simply love how it all turned out!!
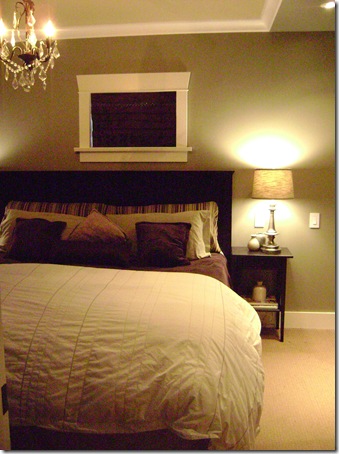
Painting the walls & ceiling was my job. I used Benjamin Moore paints - Sandy Brown on the ceiling, Stanley Park (a lovely mossy green that the photos don't do justice to) on the walls, and Cloud White on all the trim.
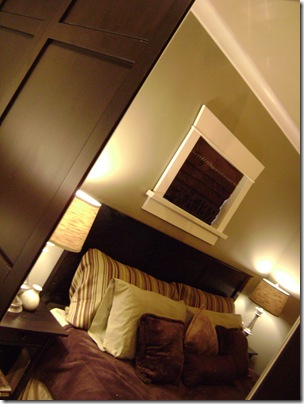
And now... the AFTER photos!!
Things aren’t completely done yet… I still have to decorate!! My plan is to sew a new duvet cover (the white is temporary) as well as some Euro pillow-covers. I also need some art on the walls (the little print below is gone now – too small). I KNOW the room will look fantastic once it’s all decorated!!
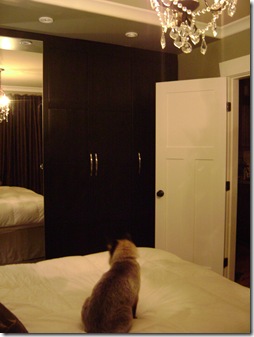
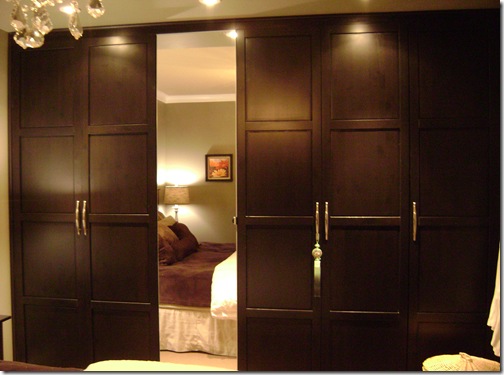
And the pièce de la résistance... my built-in wardrobes!
These wardrobes are very large – seven feet tall and the length of the room (approx 10 feet). I have to tippie-toe just to hang things up! Forget getting to the top shelf... that's what tall hubbies are for!
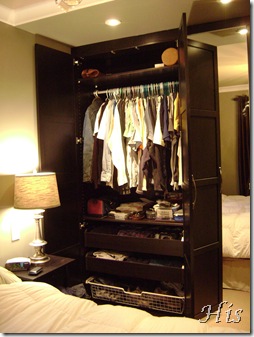
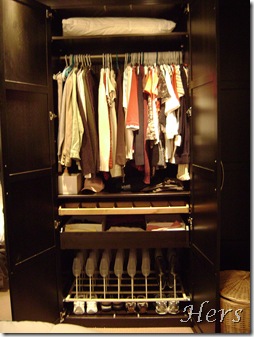
And check out what's inside. Behind each door are great organizational features that really work for us... rods, drawers, baskets, shelves, hooks...
And look at my jewellery drawer! Every time I open it I'm filled with happiness!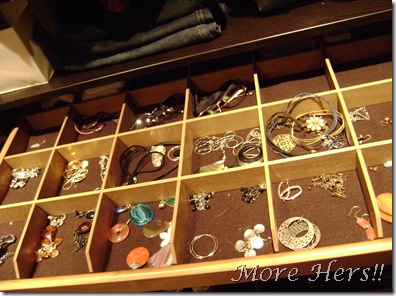
The wardrobes are so important to us because the room is too small for a chest of drawers. Everything we need is in these wardrobes! We love them!!

 I’m including this Rewind Wednesday post in the HOMEdigz blog party!
If you’ve joined us from HOMEdigz, welcome!!
Now… navigate over to HOMEdigz so that you can see what other bloggers are writing about today!! Just click on the button :-)
Thanks for visiting DesignTies today!!

